Fun Spring Activities for Kids-RedTedArt
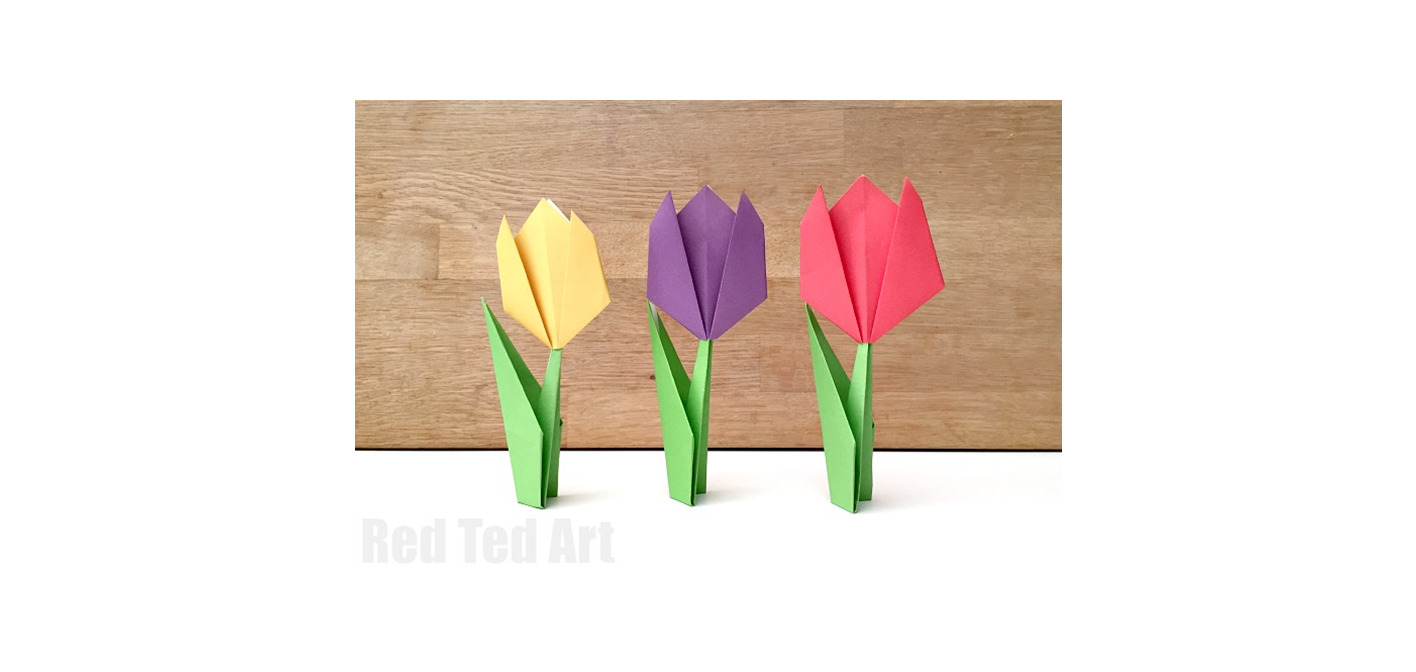
Learn how to make an easy paper tulip! This origami tulip stands freely but is also great for collages and card making (especially lovely for Mother’s Day Cards and Birthday Cards. This is a great origami tulip project for preschoolers and beginners. Learn using our step by step instructions.
To make an easy paper tulip, you will the following:
- Square piece of origami paper for the tulip flower head12cm x 12cm
- Green piece of paper for the stem 15cm x 15cm
- Scissors (to snip and connect)
This really is the easiest origami flower to make! A great project for beginners and younger children for spring, Easter or Mother’s Day crafting and art projects. Either watch our quick video instructions or follow the step by step photo instructions below. There are two options for the stem.
Time needed: 5 minutes
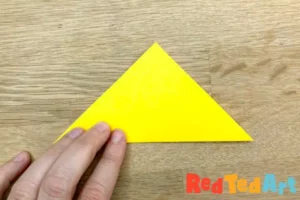
Origami Tulip Flower – Step 1 Create a Triangle
Turn your square paper, so you have a diamond shape in front of you. Fold the paper UP across the diagonal to make a triangular shape.
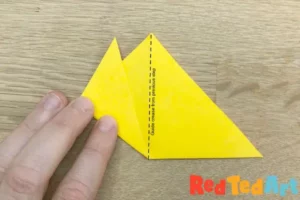
Shape the Tulip’s Head
Fold down the centre of your triangle to create a “guide crease”. Open up again. Now you know where the middle of your paper flower is. Let’s begin with the left side. Take the left corner and fold up the sides at an angle to great a left flap. The previous fold will help guide you as to where the central line is. As per the image. These are the tulip’s petals. Then repeat with the right corner/ right side. You now have made the basic petals of the tulip.
Final details to the Origami Tulip’s Head
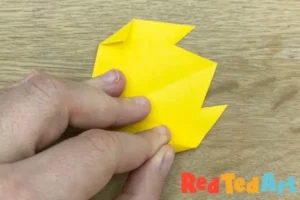
3.Flip your paper over and fold in the sides to shape your paper tulip! The basic origami flower is finished. Now for a stem.
How to make a stem
4.The video shared in this blogpost shows you how to make an ORIGAMI stem. However, you can also choose this other rolled up paper straw method.
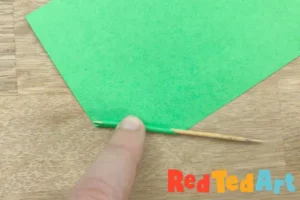
Take the green paper and start rolling it up diagonally. Using a tooth pick or a thin paint brush to get it going should help. Secure with a little glue.
Cut a snip into the bottom of the tulip head and insert. Finished. If making the origami stem version, your tulip will be able to stand too and will have leaves.
These Spring crafts are courtesy of RedTedArt.com

