Making a child’s bookmark is a fun, simple craft that can be as creative or as easy as you like. Here’s a straightforward way to do it:
What you’ll need:
- Card or thick paper
- Scissors
- Glue or tape
- Crayons, markers, or coloured pencils
- Stickers, glitter, or decorative items (optional)
- Ribbon or wool(optional)
- Hole punch (optional)
Step-by-step guide
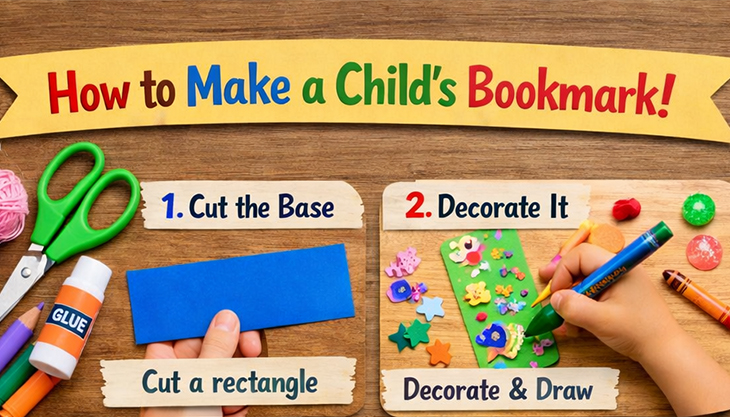
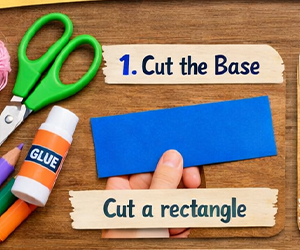
- Cut the base
Cut a rectangle from card (about 5–6 inches long and 1.5–2 inches wide). This will be the main bookmark.
- Decorate it
Let the child draw pictures, colour patterns, or write their name. They can also add stickers or glue on shapes.

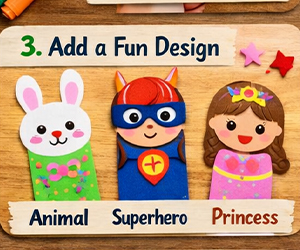
- Add a fun design (optional)
- Turn it into an animal (ears at the top)
- Draw a favorite character
- Make it a superhero or princess theme
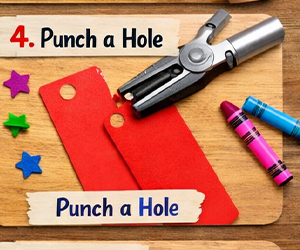
- Punch a hole (optional)
At the top of the bookmark, punch a small hole.
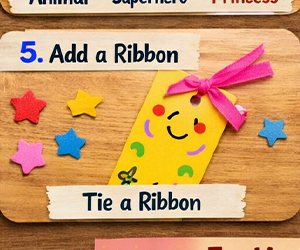
- Add ribbon or wool (optional)
Thread a ribbon or piece of wool through the hole and tie a knot. This adds a fun tassel.
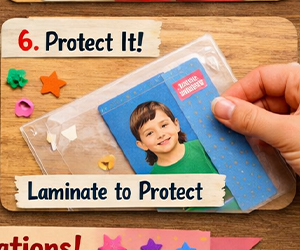
- Protect it (optional)
You can cover the bookmark with clear tape or laminate it to make it last longer.
We hope you have lots of great fun making your very own bookmark!