Related Items
Materials Needed
Lightweight paper (tissue paper, newspaper, or thin wrapping paper). Wooden dowels or straight sticks (1 long and 1 short; bamboo skewers work too). String (kite string or any strong, lightweight thread). Tape (clear or masking tape). Scissors.Glue (optional, for securing parts).Markers, crayons, or stickers (for decoration). A piece of ribbon (for the tail).
Create the Frame
Take two wooden dowels or straight sticks. Lay them in a cross shape, with the shorter stick crossing the longer stick about one-third from the top. Use tape or string to tie them se- curely together at the intersection.
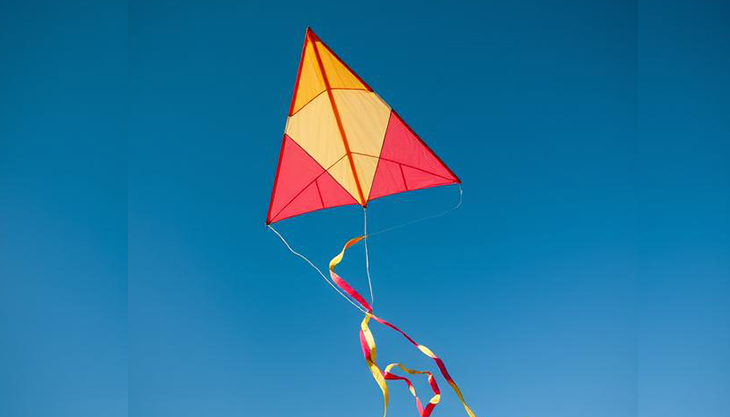
Place the frame on your paper. Cut the paper into a diamond shape slightly larger than the frame, leaving about 1 inch of margin around the edges. Fold the paper edges over the frame and secure them with tape or glue.
Tie a piece of string securely to the intersection of the two sticks. This will be the bridle string, which you’ll hold to fly the kite.
Attach a long piece of fabric or ribbon to the bottom of the kite.The tail helps stabilise the kite during flight. You can also tie small strips of fabric along the tail for added flair.
Let the kids personalise the kite with markers, stickers or other craft materials you have to hand.
Tie one end of a longer piece of string (kite string) to the bridle string where the sticks in- tersect. Roll the other end onto a spool or small stick for easy handling.
Use lightweight materials to ensure the kite can catch the wind. Adjust the bridle string’s length for better balance if the kite wobbles. Supervise younger children, especially near roads or crowded areas.
Now you’re ready to create and fly a kite that brings joy and excitement to children!