Related Items
Time needed: 15 minutes.
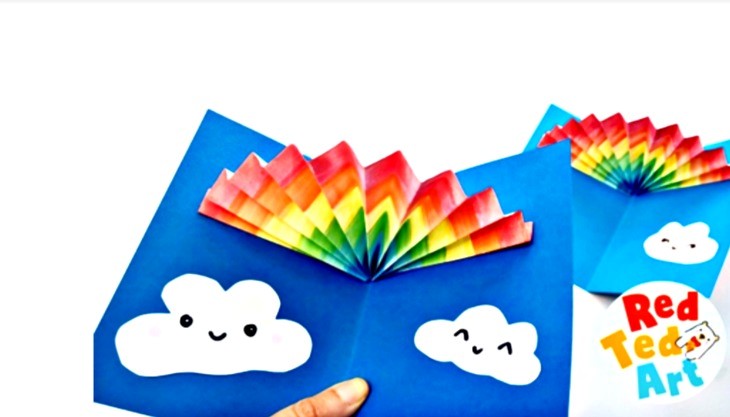
Depending on how you make your basic paper rainbow, this timing of this card making craft will be shorter or longer. E.g. if you use watercolours, making your rainbow is quick and easy, but you have to allow for drying times. If you use pens, there is no need for drying, but it will take longer to draw.. or you can use strips of coloured paper stuck together. But making this card doesn’t take very long at all if you are in a hurry. But do take your time over it!
It is important to mark your paper to have the right fit for the card. The rainbow you paint must not be longer than width of the card (when opened).
As mentioned, you can use pens, watercolours or strips of paper stuck together to create your rainbow. We used water colours and let them dry.
Once fully dry, cut off any whit excesses, so you are only left with the drawn or painter paper rainbow for your card.
Now is time to fold the paper into an accordion and making a folded accordion. Fold the short edge of your rainbow approximately 1cm. Then flip over and fold in the other direction. Keep going until you have a full concertina rainbow!
Add glue to one edge of the rainbow and secure in the card – going across the width and perpendicular to the central fold. Leave space for writing and kawaii clouds.
Add glue to the top of the accordion rainbow and fold the card shut. Press gently but firmly. When you open up the rainbow will be secured. Let dry fully before opening and shutting too much!
Start cutting further decorations – e.g. paper clouds.
Now add any finishing touches (such as cute kawaii faces to your clouds) and write any messages! Done!
These Spring craft ideas are courtesy of RedTedArt.com