Related Items


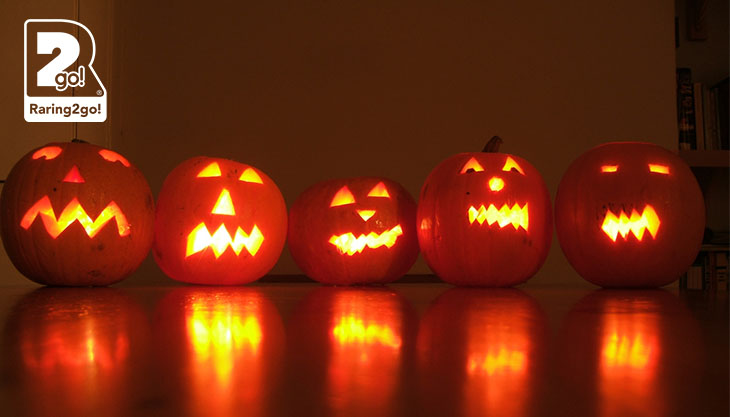
Carving a pumpkin for Halloween can be a fun and creative activity for the whole family.
Here are some basic steps to make your own pumpkin carving…
Materials you’ll need:
Pumpkin
Carving tools (pumpkin carving kit or simple kitchen knives)
Scoop or spoon
Marker or pen
Template (optional)
Tea light or LED candle (for illumination)
Steps:
Choose the right pumpkin: Select a pumpkin that is fresh and has a flat base, so it stands steadily. Make sure it’s clean and free of any bruises or mould.
Design your pumpkin: You can either draw your own design directly onto the pumpkin or use a stencil/template. Stencils can be found online or in carving kits and can make the process easier, especially for intricate designs.
Cut the lid: Start by cutting a circular lid around the pumpkin’s stem. Angle your knife slightly inward so that the lid doesn’t fall inside the pumpkin when you replace it. You can cut a simple lid, or create a more decorative jagged edge.
Scoop out the insides: Use a scoop or spoon to remove the seeds and stringy flesh from the pumpkin. Scrape the inside walls to make it as thin as you desire, but be careful not to make it too thin, as this can weaken the structure.
Transfer your design: If you’re using a stencil, tape it to the pumpkin and trace the design onto the pumpkin’s surface. If you’re drawing your design freehand, you can use a washable marker or pen to sketch your design directly onto the pumpkin.
Carve your design: Carefully use your carving tools to cut along the lines you’ve drawn. Start with the inner, more intricate areas, and work your way out. Be patient and go slowly to avoid mistakes. You can use various tools for different effects, such as serrated blades for texture and small saws for cutting.
Remove the carved pieces: Gently push or pop out the cut pieces from the inside. Be cautious not to apply too much pressure, as you don’t want to break your design.
Light your pumpkin: Place a tea light or LED candle inside the pumpkin. You can either place it directly on the bottom or use a small candle holder to elevate it. Replace the lid.
Display your pumpkin: Put your finished pumpkin on display in a safe and well-ventilated area. Avoid leaving it unattended, especially if you’re using a real candle.
Enjoy: Your pumpkin carving is complete! Now you can enjoy the festive and spooky ambiance it creates.
Remember to be careful when carving and always supervise children if they are participating. Pumpkin carving can be a fun family activity, and it’s a great way to get into the Halloween spirit.